By James Gallagher For Steampunk Coffee
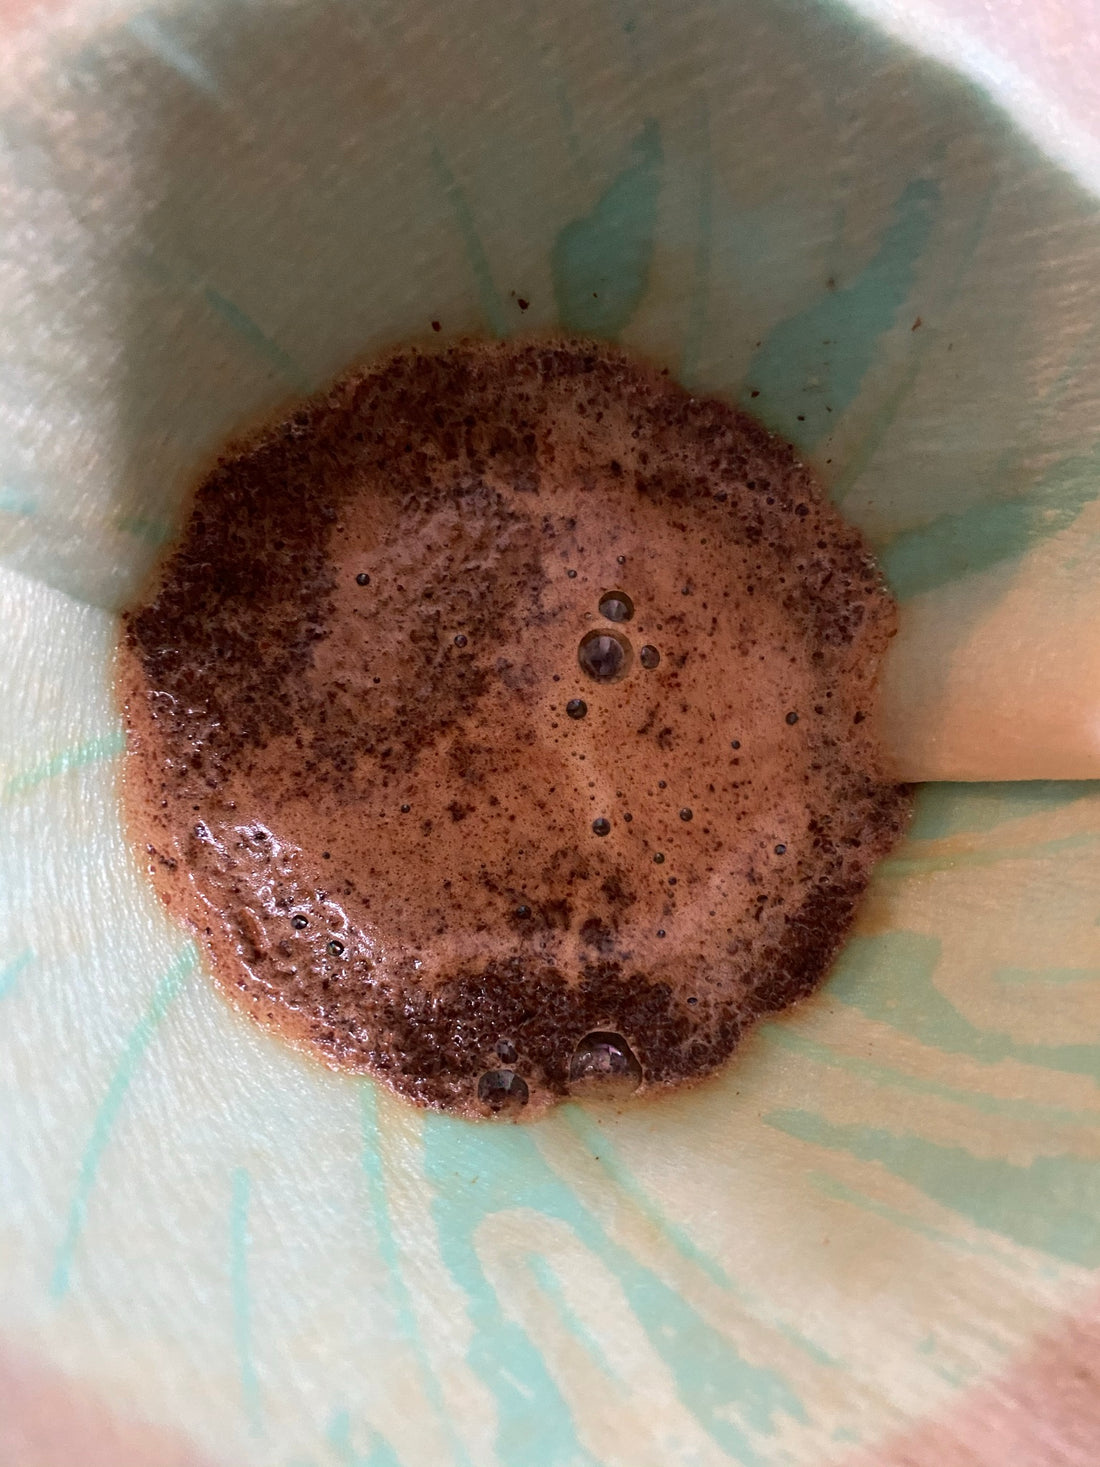
I read about a fun exercise in the book Craft Coffee where you divide the coffee you are brewing into three glasses at certain parts of the brewing process. If I remember correctly, the book recommends you capture the start, middle, and end of the extraction in your brewing so you can taste them independently. This exercise came to mind yesterday so I decided to write it down. Today, I came back to the idea and decided to brew a coffee and divide different parts of the brewing process into their own glasses.
To prepare for this exercise, I first considered the equipment I would need. I decided to use my V60 and I needed everything I usually use other than a mug. I opted to use three glasses of the same size in which to capture the different parts of the coffee I was brewing. I then thought about timing. When would I move the V60 onto a new glass? When would I pour my coffee? I decided to pour my coffee in three stages: a bloom, a first pour, and a second pour. My pours were 45 seconds apart and I moved the V60 just before I started each pour.
When I changed glasses, I put the new glass and V60 onto my scale, immediately tared the scale, and then poured in my brew water. I had to do this for my two pours after the bloom so I knew exactly how much water I was pouring into the V60. After pouring in all of my water, I had three glasses.
The three glasses contained different quantities of liquid. The first glass contained very little coffee which I expected because I brewed with a 50 gram bloom. The second glass contained more coffee but not nearly as much as the third glass. I suspect this is because the third glass was given longer to capture coffee. I stopped the brewing process while there was still a bit of water in the V60 because the brew was taking quite a bit of time and I wanted to ensure there was no significant over-extraction that blurred my ability to perceive the contents of the final glass.
On tasting, I noticed the first glass was under-extracted: sour, astringent, and unpleasant on the whole. The coffee had a strong aroma in comparison to the other two cups, which were somewhat lacking in aroma. The next glass, which constituted all of the water that dropped through in the first pour after the bloom, had a present origin characteristic -- chocolate -- but the coffee was a bit weak and, I wrote in my notes "more drinkable," which is not necessarily praise. The third glass, containing the coffee from the final pour, was a bit watery and more weak than the second glass. But, the glass tasted more balanced.
None of the glasses contained coffee which, on its own, was exceptional. I expected this because the coffee that we brew in pour-overs is a mixture of all parts of extraction. The first part of the brewing is where a lot of the acids are released. The middle and end parts of brewing dilute the acids and balance them out with additional flavour compounds which come out later in the brew.
After tasting and deliberating over all three coffees, I mixed them together. I had a much better coffee than any of the independent samples I consumed. But, the coffee was still not as good as my usual pour-overs. I expect this was because I had consumed quite a bit of the first and second glasses before mixing the coffees, meaning the mixture of all three coffees would be a bit unbalanced.
I would recommend trying this exercise at home if you want to learn a bit more about extraction from first-hand experience. Try brewing a pour-over coffee and divide your pour into three different stages. Here is the process I used:
Brewing Ratio: 15 grams of coffee and 250 grams of water *
- Put filter paper in V60. Prewet V60. Put ground coffee into the V60.
- Pour 50 grams of coffee into the V60. Stir the coffee slurry. Start a timer.
- At 45 seconds, switch the V60 onto a new glass and tare the scale under which the new glass rests. Pour 100 grams of water into the V60.
- Repeat step three with a new glass at 1:30.
- Take the V60 off the final glass when the coffee has dripped through (or slightly before if your coffee is taking a long time to drip through, like mine did).
- Taste each of the three samples individually.
My biggest realisation from this experiment is that coffee extraction is not uniform; different compounds extract at different times. I knew this from a theoretical standpoint but until I had tasted the three coffees I never had any experience with what extracted at the start and end of brews. This knowledge appears to be foundational to making espresso, too, so I am glad I tried this experiment. Now it's your turn: follow my guide above and taste the coffee you brew at different stages of extraction. See what you notice about the coffees and maybe take a few notes. This experiment will help you deepen your understanding of brewing coffee and fundamental extraction theory.
Contributed by James Gallagher, a home brewer and coffee enthusiast. View his excellent blog at jamesg.blog
* for further help working out brewing ratios, check out James' helpful Coffee Ratio Calculator Tool

