By James Gallagher for Steampunk Coffee
As the weather warms up, our thoughts are turning to cold coffee. Here, our guest blogger James shares some tips for Cold Brewing at home without having to invest in any fancy equipment. Let us know how you get on.
Spring has arrived and the weather has been improving of late. There have been quite a few sunny days. On Saturday two weeks ago, I was able to go to the park, brew a coffee, and read a magazine; the weather was excellent. With such good weather, I have been experimenting with some colder coffee drinks. I started a few weeks ago by making iced coffee using my Kalita Wave which has gone well.
Yesterday I started to do some research on other cold coffee drinks and I decided that I would try to make a cold brew at home. Cold brew is a method of brewing where coffee grounds are steeped in cold water for a long time, typically between twelve and eighteen hours. The long steeping time is needed because cold water is less efficient at taking flavours out of coffee (extracting) than warm water. To make sure the coffee does not taste overly bitter because it has been in contact with water for so long, cold brew recipes typically call for a "coarse" grind size.
I have thought about making cold brew coffee at home but I have always thought I needed some special equipment like a cloth or a cold brew bottle. That is not the case. While you can use a cloth with a mason jar to make cold brew, or a cold coffee brewing bottle like the one made by Hario, it turns out you do not need any additional equipment to brew cold brew at home. You just need some coffee, a container in which to brew your coffee, and a type of filter, which can be anything like a V60 with a filter, a Kalita Wave, a Chemex, or something similar.
The Recipe
I came up with a basic recipe for one cup of cold brew, which is as follows:
Ingredients: 20 grams of coffee to 250 grams of water
- Measure out 20 grams of coffee. Grind to a medium-to-coarse setting. I chose the 24 setting on my Baratza Encore.
- Put 20 grams of ground coffee into your container. I chose a so-called "chilly bottle." A flask, a mason jar, or a cold brew coffee bottle would work fine too.
- Pour 250 grams of water into your container.
- Agitate the bottle to make sure grounds are incorporated into the water. I did this by moving the bottle around a bit (although not shaking the bottle).
- Put your container in the fridge. Wait 13 hours. You can experiment with the timing but 14 hours worked well for me.
- Take your coffee out and serve over ice in a glass.
I chose to use more coffee than I usually would for brewing 250 grams because cold liquids typically do not show as many flavours as their warm counterparts. Think about an iced coffee. It is harder to detect all of the subtle flavours in an iced coffee than a coffee that has been made with hot water. You can adjust the dose of coffee -- how much coffee you use -- to your taste but I think 20 grams is a good starting point. My coffee was flavourful but not overwhelming.
The above recipe is suitable for one glass of coffee but you can make more coffee by doubling the quantity of coffee and water you use. If you want to brew two cups of coffee, you would use 500 grams of water and 40 grams of coffee, and so on. I have not tried brewing a larger batch using the above recipe yet, however, so your results may vary.
My Thoughts on Drinking Cold Brew
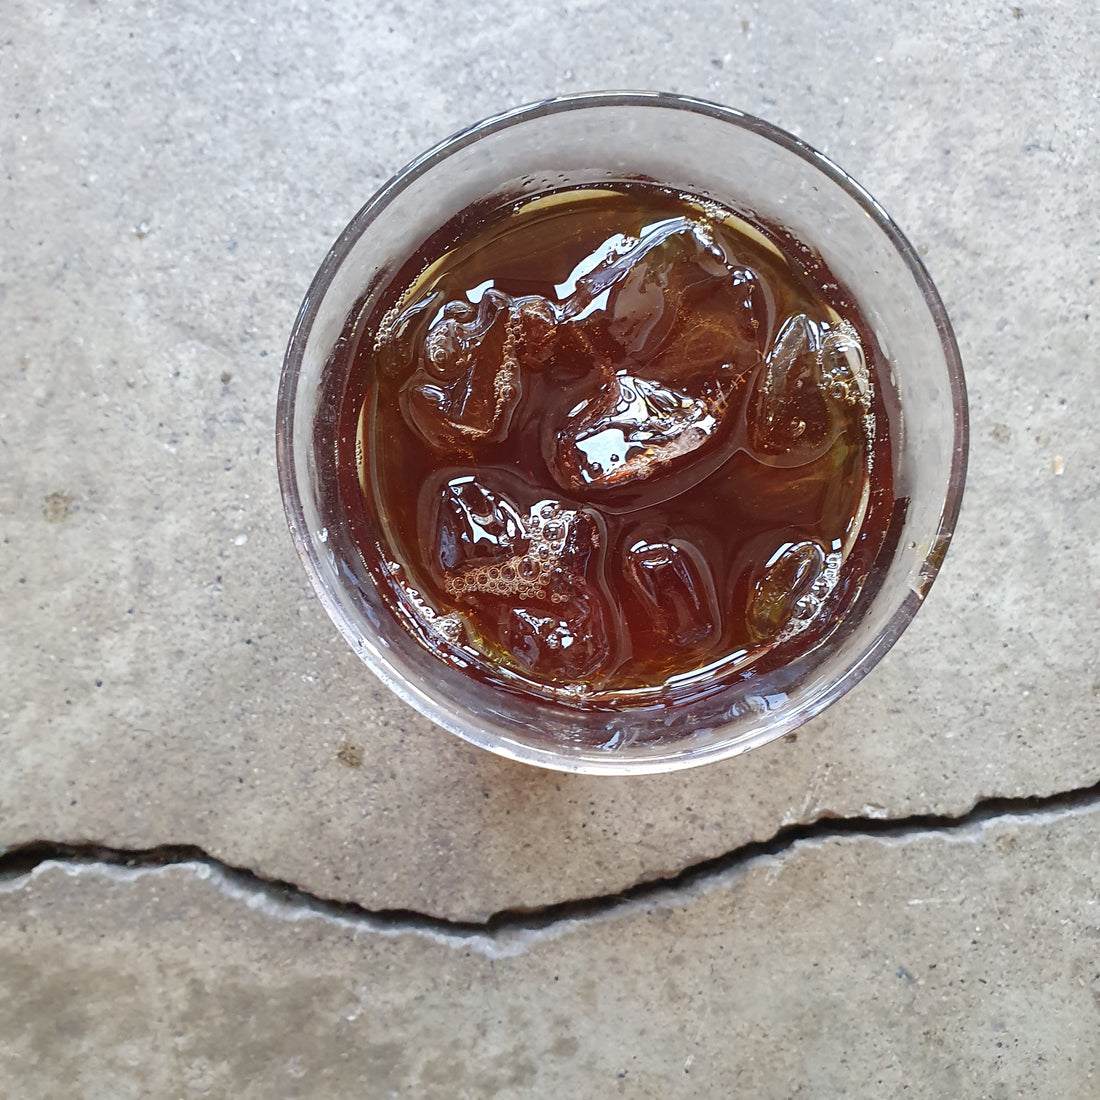
I brewed my cold brew coffee with a chocolatey Brazilian coffee. This coffee works really well when brewed as a pour-over but turned out exceptionally well as a cold brew. I could taste the chocolate flavour notes as well as a bit of fruitiness, although it was hard for me to ascertain exactly what the fruit was. I would need to try another glass. One thing about cold brew, or at least the recipe above, is that it is very easy to drink, meaning your glass may be gone quite quickly after you have served your coffee.
Cold brew has something of a mixed reputation in the coffee industry. After tasting my cold brew, I believe that cold brew is worth a try at the very least. For the spring and summer months, cold brew is a good way to keep yourself cool and refreshed. Also, cold brew takes very little effort to prepare when you want a glass, as long as you do some work beforehand. So you could prepare some cold brew in the evening and have it ready to drink for your first cup early in the morning. I made some cold brew just before 8 pm yesterday and was able to enjoy a glass at 9:30 am in the morning the next day.
If you are looking for a way to spice up the coffee you drink in spring and summer, cold brew is a good way to go, offering both a refreshing and tasty drink that is easy to enjoy when it is warm and the sun is shining.
Contributed by James Gallagher, a home brewer and coffee enthusiast. View his excellent blog at jamesg.blog
Check out these other articles which may be of interest:
How to make an Iced Latte at home.
Iced coffee: Flash Brew vs Cold Brew
Add sweetness to your iced coffee with a simple syrup.

