
By Michael Gormley
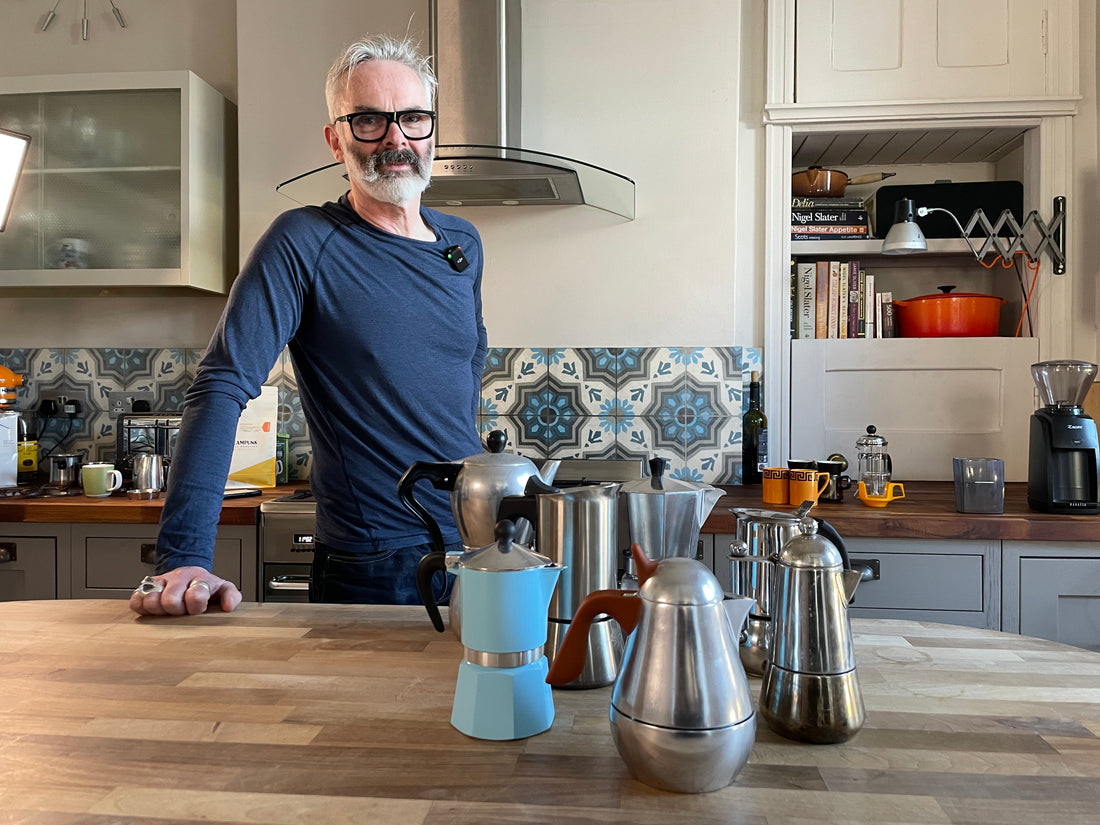
We recently released a video on Steampunk's YouTube channel, exploring the delights of brewing coffee on inexpensive equipment. Prominent among these is the good old stove-top Moka pot, a genuinely iconic piece of design which has provided many people (myself included) with their first experience of making quality coffee at home.
Moka pots are pretty much synonymous with a stereotypical notion of Italian culture, right up there with Vespas and pizza, and they are certainly capable of delivering a face-meltingly intense and bitter, espresso-ish drink. A lot of people really enjoy that Italian style of coffee, but the Moka pot is also capable of something more subtle.
I first fell in love with the Moka in the early eighties while visiting my sister at university (she was studying Italian and History of Art) and when my girlfriend gave me one for my 21st birthday (thanks Lyndsey), I thought I’d ascended to the highest level of sophistication.
Sadly though, it took me many years (in the pre-YouTube era) to actually master it. I had no real idea what I was doing, using any old randomly sized pre-ground beans, and attempting to brew on a knackered old electric cooker. As a consequence, the results were almost exclusively harsh and bitter (which I imagined was the price you had to pay for being cool and grown-up).
I suspect this is probably why so many Mokas find their way onto the shelves of charity shops, where they can easily be picked up for a few pounds. Brewing on a Moka requires a little bit of care and technique, and a little bit of trial and error while you get to know the way your own brewer performs on your own particular stove or hob.
The excellent news is that, when properly used, Moka pots can make an amazing job of brewing the lightly-roasted, very non-Italian style beans that we produce at Steampunk. Here we share a step-by-step guide to achieving this, and you can also have a look at the new video (below) for tips.
Brewing on a Moka Pot
Before we dive into the technique and recipe, however, there are a few general points to note.
Moka pots can be used on a number of hob types, but I would say that they work best with either gas or induction. Bialetti, the inventors of the original aluminium Moka, with its classic hexagonal shape, also produce a sleeker, smooth-sided stainless steel version which has been designed to be used on an induction hob, but also performs very well on gas.
In theory, the aluminium pot should work on an electric element, but controlling the level of heat is key to brewing successfully and I personally haven’t worked with an electric hob that is responsive enough to cope.
I’m a bit conflicted about which Bialetti pot is more enjoyable to use. I much prefer the look of the classic aluminium version, but I do find the stainless steel more straightforward: it seems to brew more quickly, it is easier to clean, and you don’t have to keep such a careful eye on the heat source.
Whichever you use, it is best to pour your coffee into a cup or mug immediately after the brew is complete, and to wash your Moka pot as soon as possible after you’ve enjoyed your coffee. You don’t need detergent, but use very hot water with a gentle brush, cloth or sponge, and be sure to dry every part thoroughly before reassembly. In an ideal world, the parts would be stored separately but I have never encountered anyone who actually does that (the pots have to look cool on your shelf and that just doesn’t work if they are in bits). You can put a solution of two-parts water to one-part distilled vinegar through your brewer every once in a while to keep it nice and clean.
Fun fact: the term Moka derives from the name of the Yemeni port of Mocha, through which that country’s coffee exports reached the wider world. How it came to be attached to the Italian brewer, as well as, somewhat confusingly, a delicious mix of espresso and hot chocolate is something I can’t answer.
Recipe
For the recipe below I am recommending our Honduran coffee Alex Ponce, which has a lovely syrupy body, ideal for the Moka Pot. Brewed in this way you get a juicy, fruity coffee with some of the intensity of espresso, but longer, more suitable for savouring. It will taste clean and complex, with flavour notes of tropical fruit, pineapple and hard-boiled sweets.
Another great choice is the San Sebastian (Colombia) - for this coffee follow the same recipe as below. Brewed on a Moka Pot, the San Sebastian is rich and round in the mouth, with a vibrant orangey acidity, but also a satisfying sweetness, without a hint of bitterness.
Having said that, all of the coffees we have for sale at Steampunk currently can be fully enjoyed as a Moka pot brew.
Dose and ratio:
90-100g coffee per litre
Whatever the shape or size of your Moka pot, to achieve this ratio and prepare your brew, simply:
- fill the bottom chamber with boiling water to just below the level of the pressure release valve
- fill the basket almost to the top with medium-fine ground coffee, tapping gently to level it off, but not compressing the bed of coffee at all
Using this ratio, a ‘four-cup’ Bialetti brewer gives you around 130-140g coffee in your cup, which is a nice amount for one person. Fill the basket with 18-20g coffee, and the lower chamber with 200g water.
A ‘six-cup’ brewer gives you around around 195-210g coffee, which is a good amount for the equivalent of two Long Black-style drinks, or if mixed with frothed milk, two small to medium milky coffees. Fill the basket with 27-30g coffee, and the lower chamber with 300g water.
An ‘eight-cup’ brewer will give you around 260-280g coffee in your cups, roughly enough for two longer drinks. Fill the basket with 36-40g coffee, and the lower chamber with 400g water.
It’s interesting to note that when brewing our Alex Ponce Honduran beans on a hexagonal aluminium Bialetti, a slightly lower dose (18g on a four-cup) brews more efficiently, but with the stainless steel version you can usefully up that dose to 19g or 20g.
Grind size:
For Mokas of all sizes we recommend a ‘medium-fine’ grind, which is to say quite finely ground, but not at espresso levels of fineness. In addition to the Moka pot this setting works well with the Aeropress and Clever Dripper.
As a guide, these are some baseline reference grinder settings:
Rhino Compact hand grinder: three clicks from ‘zero’
Baratza Encore setting ‘6’
Niche Zero setting ‘25’
Brew time:
This depends on your brewer. For a stainless steel four-cup brewer, for example, it should take roughly 2 minutes 30 seconds - 3 minutes; with a six-cup aluminium brewer it is more like 5 minutes 30 seconds
Water temperature:
Steampunk beans are always lightly roasted and for these we recommend brewing at 100 celsius. Simply fill the bottom chamber of your Moka pot with boiling water straight from the kettle, being careful to use a cloth or tea towel while handling it or screwing the two chambers together. Using water at this temperature rather than starting with cold water prevents the coffee grounds from becoming too hot in the basket while the water is heating up.
Method:
- Pre-prepare the basket that holds the coffee grounds, filling it almost to the top. Once filled, tap the basket on a hard surface to settle the grounds, but do not compress them. Place it to the side (it helps to have something such as a small cup to pop it into, to hold the basket upright).
- Boil a kettle and fill the lower chamber of the Moka pot to just below the pressure gauge (a small nut which should be visible on both the interior and exterior of the chamber). It can be helpful to use a set of scales for this; you should end up with 65-70 % of the water in your final cup, and the scales will help you nail this more easily.
- Place the basket of ground coffee into the bottom chamber and screw the two parts of the brewer together nice and tightly. Because you’re using hot water, you will need a cloth to protect your hand as you hold onto the bottom of the brewer.
- Put the pot on the stove with the lid open, and set the heat level. This will depend on the size of your brewer, but should be medium low at the most. For example, when using a four-pot brewer on a gas hob, I set the level just a little above the minimum on the smallest ring. Keeping the lid open allows you to watch as the brew develops and adjust the level of heat if required.
- If you are using a timer (which I would recommend) you should see coffee start to trickle steadily from the spout into the upper chamber at some point between 60 seconds and three minutes, depending on the size and type of your brewer. When this happens, immediately turn the heat to the lowest level possible. If it looks like the brew is happening too quickly - if it starts to spurt and sputter before the upper chamber is full - it’s possible to slow things down by holding the pot an inch or two above the heat source, being careful not to stop the flow entirely. If it looks like that’s about to happen you can once again lower the pot so that it’s closer to the heat.
- When the level of coffee in the upper chamber reaches about 65-70 percent of the water you put in, steam will start to push its way up through the coffee grounds and spurt more erratically and angrily from the spout. At this point you should lift the pot and quickly run the bottom chamber under a cold tap, which stops the brew altogether, and prevents bitter flavours spoiling your delicious coffee. After a few brews you should be able to gauge how your Moka pot responds to different levels of heat, regulate the flow of coffee into the upper chamber and recognise when it is approaching the optimal level of liquid.
- Pour the coffee into your mug and enjoy. If you use scales to measure the liquid you will be able to see if you have hit the right mark and achieved a good even extraction of coffee. If you have too little liquid you will probably have used too much heat, causing an uneven extraction which will probably taste harsh. If your coffee has strong bitter notes, you may not have been quick enough in stopping the brew. It may also be that your grind size is just a little too fine.
You may also enjoy our previous related blog, Thrifty Coffee - maximum taste on a minimal budget.